
- >
- >
- >
Getting started with Kepler on UpCloud
Last updated - July 16, 2020
UpCloud is a European cloud hosting company offering the world’s fastest cloud servers on an hourly billed infrastructure-as-a-service platform for the most business-critical customers from 8 data centers based in Germany, Netherlands, Finland, UK, USA, and Singapore.
We are happy to announce our partnership with UpCloud to help you get started with Kepler for free. You can now sign up with UpCloud using the Kepler promo code below and get $25 in credits for your account including access to their 24/7 Support.
Signing up
First things first, if you have not yet registered on UpCloud, begin by getting signed up.

Deploying your first cloud server
Once registered, sign in to your UpCloud Control Panel and get cracking!
The next thing you’ll need to do is deploy a new cloud server.
Deploying a new server on UpCloud is an easy and straightforward process. To get started, select to Deploy a server under the Servers section at your UpCloud Control Panel.
The deployment page shows a number of options for customising a new cloud server.
- Choose the server location from the available data centres
- Pick a configuration, the $5 per month plan is a good starting point
- Select Ubuntu 20.04 or 18.04 for the operating system
- Add any SSH keys you might want to use if any
- Give your server a hostname and description
- Click Deploy!
You can find more detailed instructions on cloud server deployment at our newcomer’s tutorials.
Once deployed, you’ll receive the root password for your new cloud server by your chosen delivery method, email by default. You can also see the password at the notifications at your UpCloud Control Panel. Make note of your root password as well as your server IP address since you will need them to connect to the cloud server.
You could also configure a domain name for your web site by creating an A record for the IP address of the new cloud server. This can generally be done at your domain registrars services. Find out more at this guide about domain name systems and how to configure DNS records.
An active domain is not however necessary to follow this tutorial, just continue below if you want to skip the domain setup.
Installing WordPress with Docker Compose
Kepler works as a WordPress plugin and therefore requires WordPress to be installed. This can be accomplished in a number of different ways depending on your preferences. For this example, we’ll be using Docker Compose for a quick WordPress site deployment with room for future development.
To get started with the install, log into your new cloud server using SSH. If you are unfamiliar with SSH, check out our guide on how to connect to your cloud server.
Once logged in, you should begin by updating your current server software. Run the following command on the terminal.
sudo apt update && sudo apt upgrade -y
With the server updated, you can install Docker by using their handy install script with the two commands below. The first command downloads the install script while the second command runs the script to install Docker and all its dependencies.
curl -fsSL https://get.docker.com/ -o ~/get-docker.sh
sudo sh ~/get-docker.sh
Once installed, if you’ve configured username for yourself, you may wish to add it to the Docker user group. Doing so allows you to run docker commands without invoking sudo every time. Replace the username in the command below with your own.
sudo usermod -aG docker username
You should also set Docker to start automatically at server boot.
sudo systemctl enable docker
Next, install Docker Compose with the next install script.
Note that this script needs to be run as root.
Switch to the root user if you are not already using it with the command below.
sudo -i
Then run the script to download and install Docker Compose.
curl -L https://github.com/docker/compose/releases/download/1.24.0/docker-compose-$(uname -s)-$(uname -m) -o /usr/local/bin/docker-compose
Then apply execution permissions to the docker-compose binary.
sudo chmod +x /usr/local/bin/docker-compose
Afterwards, you can change back to your own username by simply exiting the root account. Skip this if you were using root from the beginning.
exit
Now that both Docker and Docker Compose have been installed, you can then get started deploying your WordPress site.
Create a new directory that will house the website files.
mkdir ~/wordpress-compose
Then create a docker-compose.yml file like below. It defines two containers, one for WordPress itself and second for a database that the website will use.
Just copy the following in its entirety to the command line and press enter.
echo 'wordpress:
    image: wordpress
    links:
     - mariadb:mysql
    environment:
     - WORDPRESS_DB_PASSWORD=DataBasePassword
    ports:
    - "80:80"
    volumes:
     - ./html:/var/www/html
mariadb:
    image: mariadb
    environment:
     - MYSQL_ROOT_PASSWORD=DataBasePassword
     - MYSQL_DATABASE=wordpress
    volumes:
     - ./database:/var/lib/mysql' > ~/wordpress-compose/docker-compose.yml
Afterwards, replace the DataBasePassword for both containers with something secure. You can open the file for edit by using for example nano ~/wordpress-compose/docker-compose.yml command.
Then start the WordPress website with the following command.
docker-compose -f ~/wordpress-compose/docker-compose.yml up -d
Docker will then download and deploy a WordPress site according to compose file created above. Once the installation has finished, you’ll see an output like the example below.
Creating wordpress-compose_mariadb_1 ... done
Creating wordpress-compose_wordpress_1 ... done
That’s it! You now have a clean WordPress installed and running on your cloud server. Continue below on how to proceed next.
Making the initial WordPress configurations
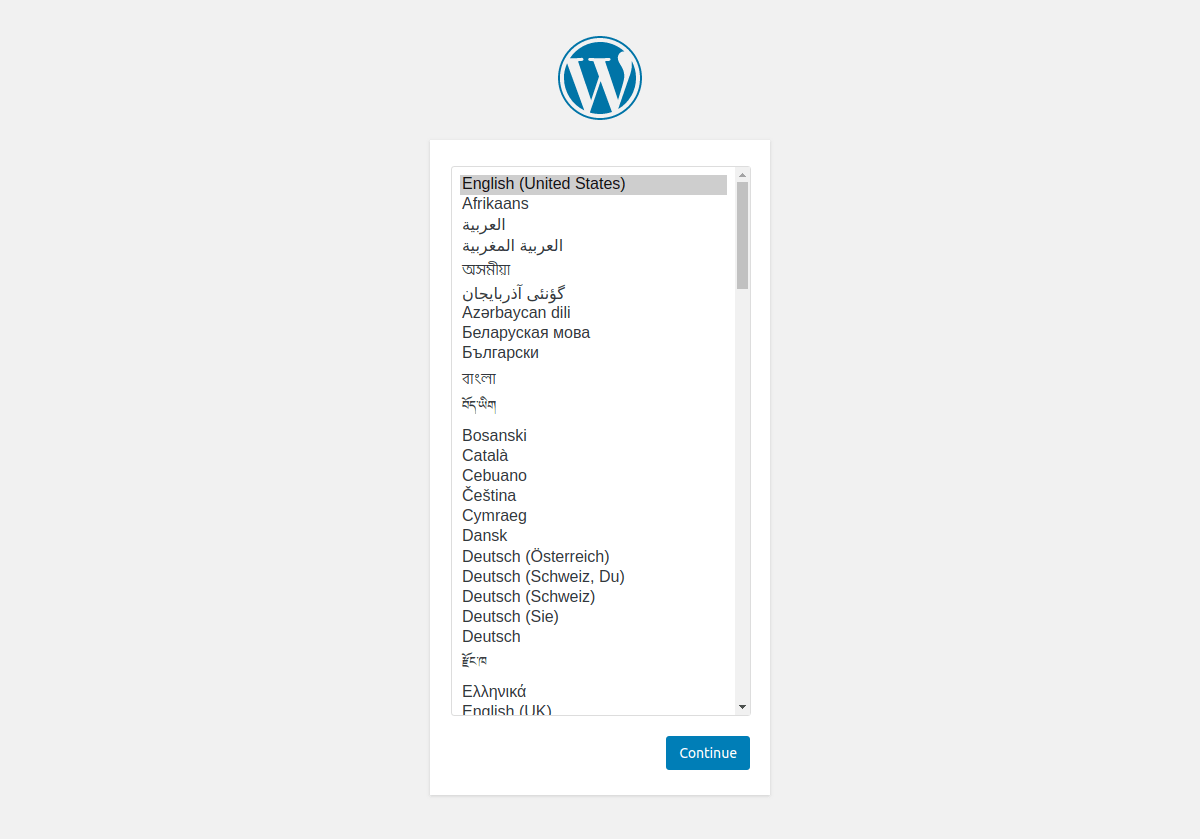
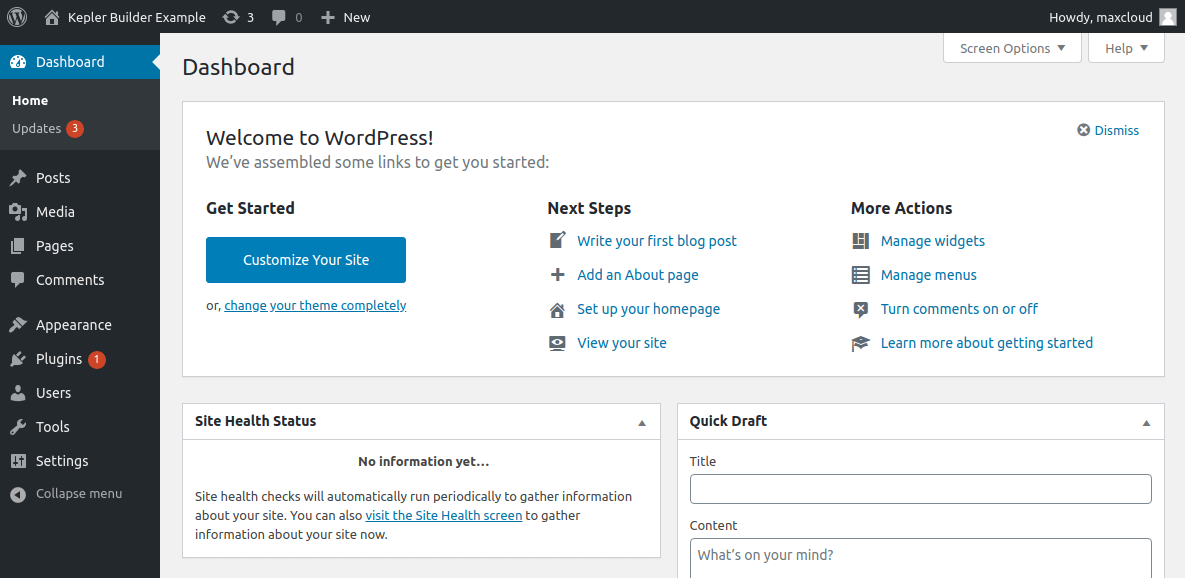
With WordPress installed, you can then open your domain or public IP address, as shown at your UpCloud Control Panel, in your web browser. You should see the WordPress initial setup page like in the image shown underneath. Follow the setup wizard to complete your WordPress site installation.
http://<public-ip-address>
Start the setup by selecting your preferred language and clicking Continue.
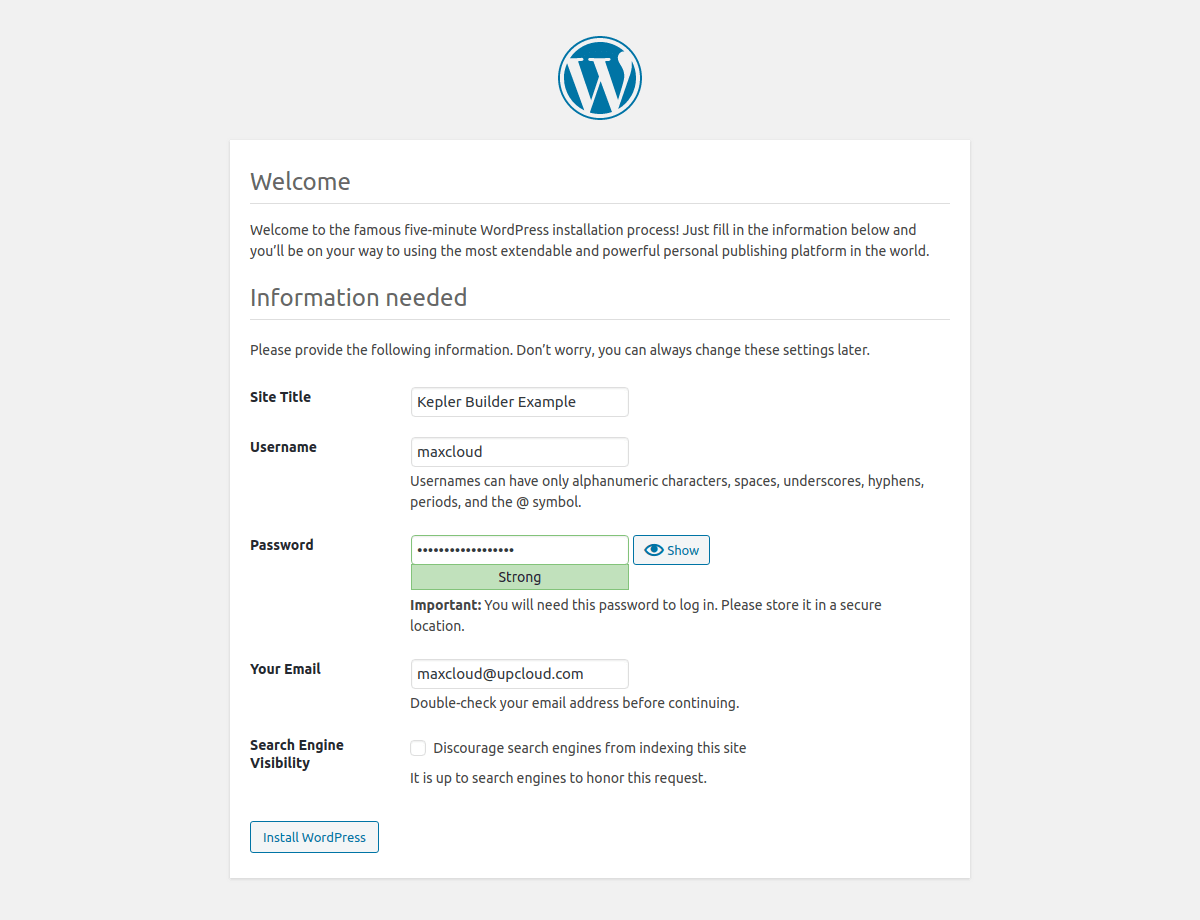
Next, give your website a title and choose your username and password and enter an email address to create a user account on your new WordPress site. Once done, click the Install WordPress button.
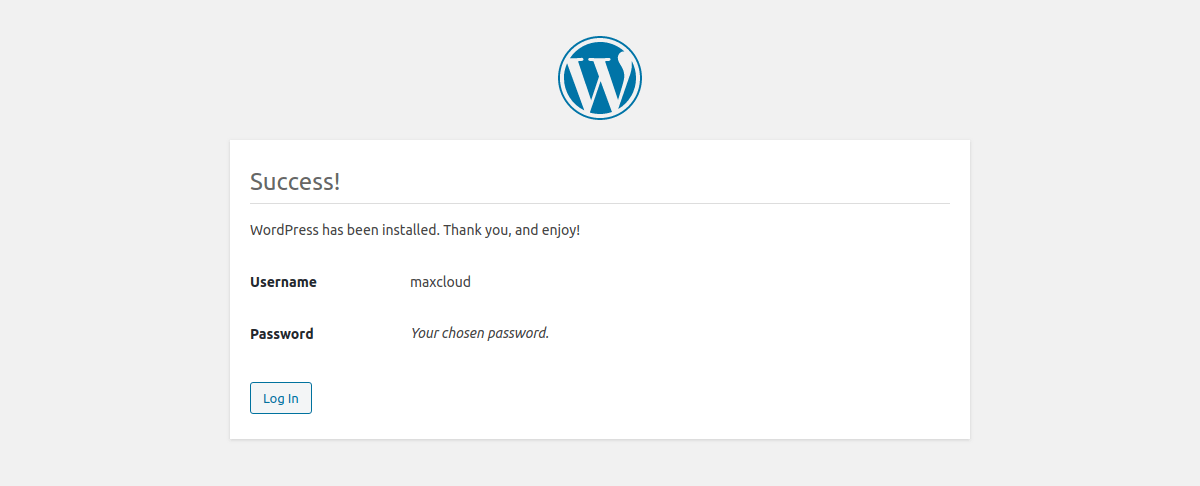
The installation will take but a moment after which you should see a confirmation like below. Once the install has finished, click the Log in button to go to your WordPress admin panel.
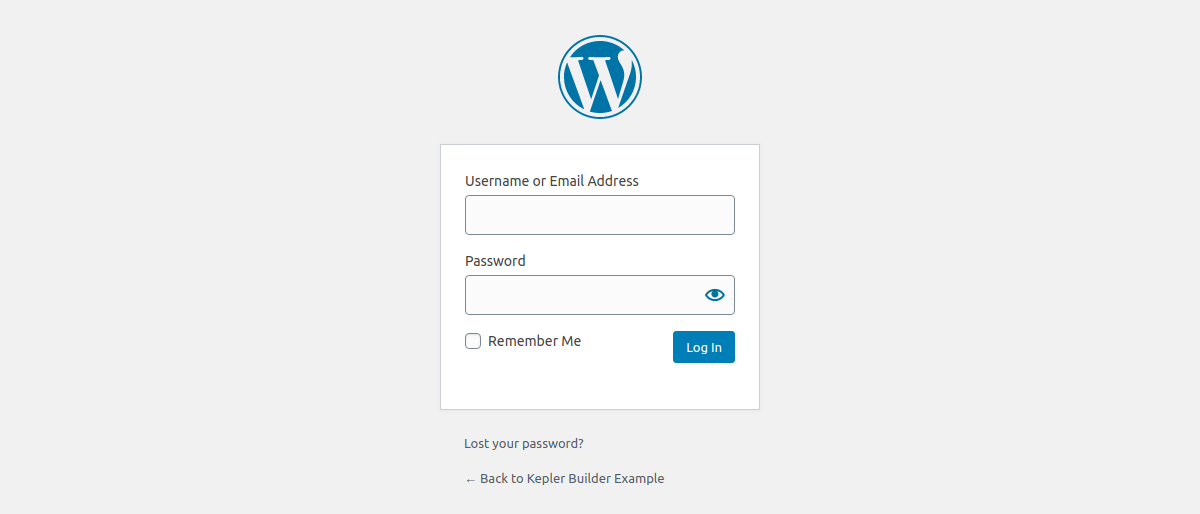
Log in with the same username and password you set during the WordPress configuration.
That’s all for installing WordPress but the site is still very bare-bones.
Continue below with the steps to install Kepler and start building your website!
Installing Kepler Builder and theme
Once your new WordPress site is up and running, you get to installing Kepler. The install process is quick and easy thanks to the simple integration of Kepler as a WordPress plugin and theme. On WordPress, themes and plugins can be installed via the admin panel or by directly downloading the packages onto the webserver.
Since we have SSH access to the server, we can use the latter method which makes quick work of the install process.
First, you need to install unzip to decompress the Kepler packages.
sudo apt install unzip -y
With that done, you can download the Kepler Builder plugin and extract the files into the plugins directory for your WordPress web site.
wget https://storage.googleapis.com/kepler-download/kepler-builder.zip -O ~/kepler-builder.zip
unzip ~/kepler-builder.zip -d ~/wordpress-compose/html/wp-content/plugins
Then repeat the steps to download and install the Kepler theme.
wget https://storage.googleapis.com/kepler-download/kepler-theme.zip?ignoreCache=1 -O ~/kepler-theme.zip
unzip ~/kepler-theme.zip -d ~/wordpress-compose/html/wp-content/themes
Now that Kepler is installed, go back to your WordPress admin panel.
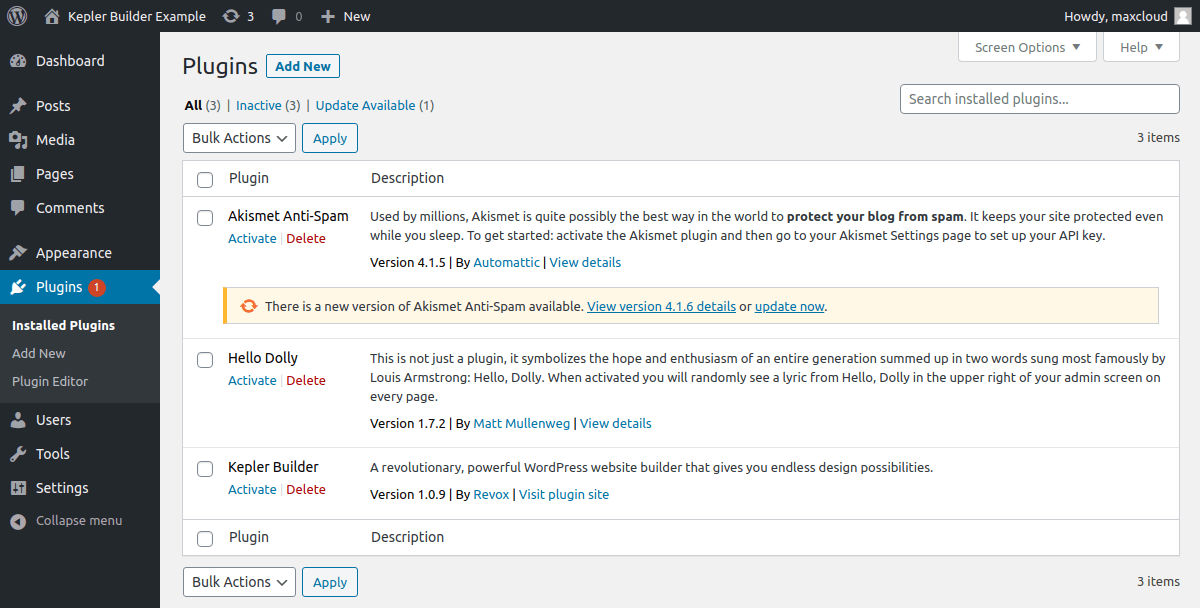
In the WP admin section, navigate to the Plugins view by clicking the menu link on the left.
On the list of installed plugins, you should see Kepler Builder along with some default plugins. Enable the Kepler Builder by clicking the Activate link.
When activated, Kepler will greet you with a hello and a notice that you also need to have a compatible theme selected. Since we’ve already installed the Kepler theme, you can ignore the download link.

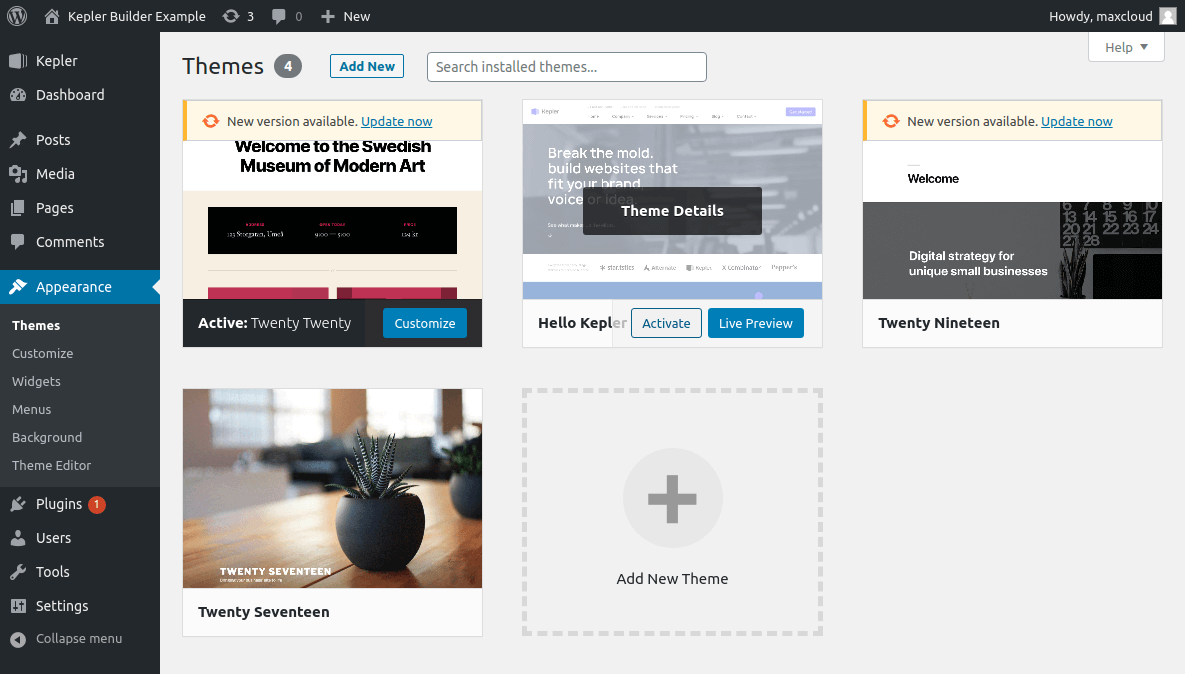
Next, navigate to the Themes list under the Appearance menu.
Then find the Hello Kepler theme on the list of installed themes and enable it by clicking the Activate button when mousing over the theme preview image.
Congratulations, you’ve then successfully installed Kepler!
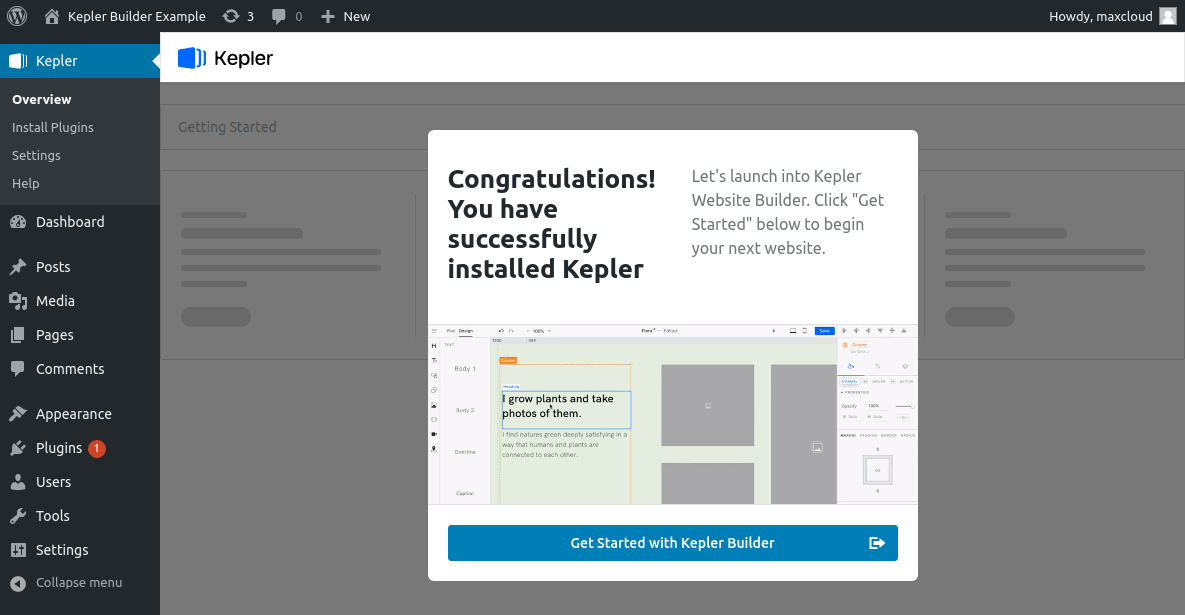
Click the Get started button to continue.
Getting started with Kepler
With Kepler installed, you are almost ready to get going. When you open Kepler for the first time, you will be prompted to enter your Kepler product key.
You can follow the link to purchase a key or get the free trial key to test out the builder before committing. If you’ve already purchased a Kepler licence, you can find the product key in your confirmation email.
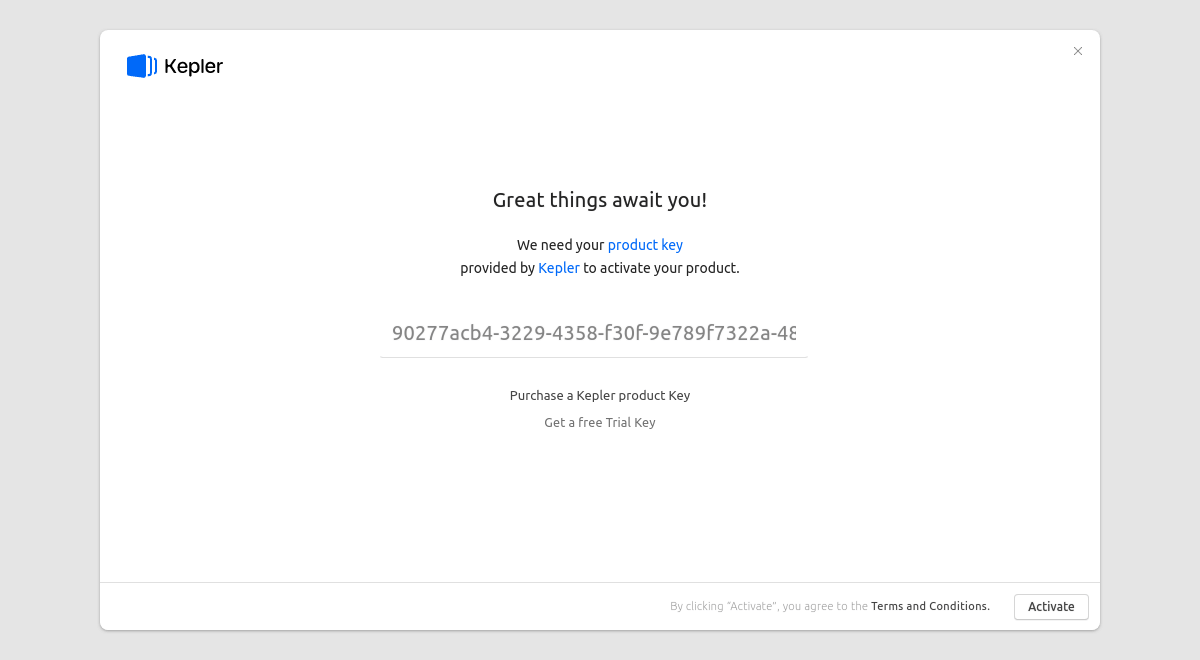
Once you’ve entered a valid product key, click Activate button to go to the next step.
Kepler will then give you some options to explore template styles which can be very helpful as a starting point. Select whichever style you like and click the Start Import button or Start with a black canvas if you want a clean start.
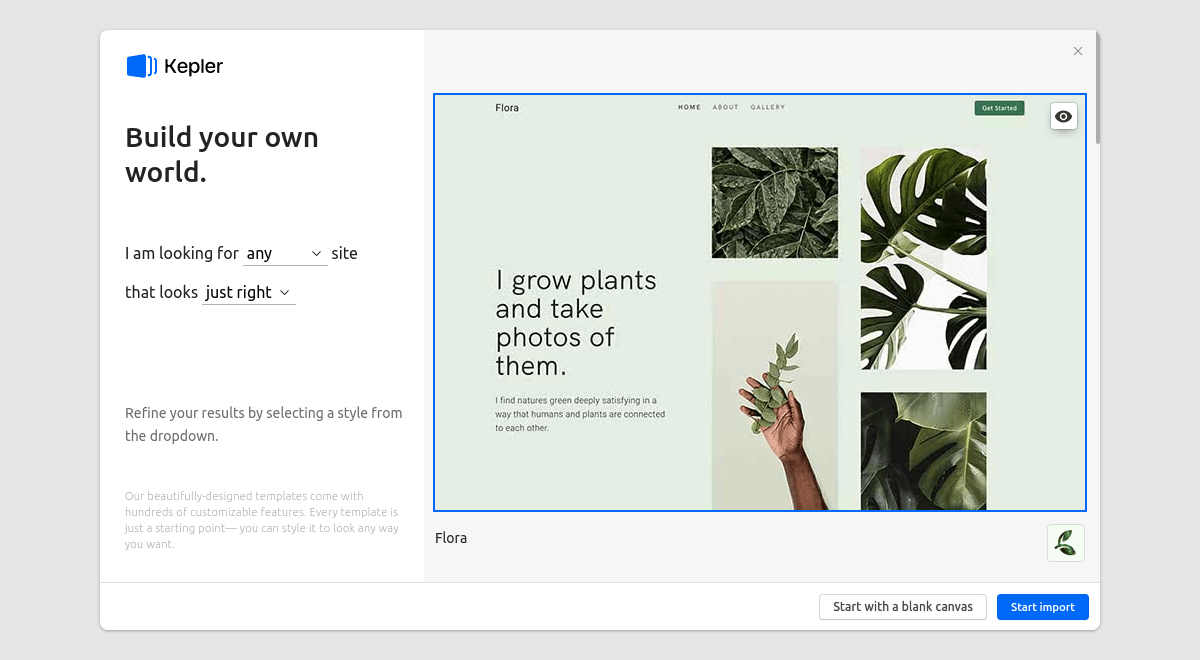
You can then further customise your website by selecting the pages you want to use. Finally, click the Start Import button again to confirm the import.

Kepler will then begin setting up your new site with the template style of your choice. When finished, you will be directed to the Kepler design editor.

All set! You now have all the tools needed to build your perfect website with simple drag and drop actions, no coding needed!
Was this article helpful?
Have more questions? Visit our community, its open to everyone!